Fun DIY Projects to Do with the Kids

Whether you are a teacher looking for fun ways to engage your students, a nanny trying to bond with a child, or a parent who just needs fresh ideas for a DIY afternoon, we’ve got a list of projects to try out with the special kiddos in your life.
Some of these projects can be done with common materials found around the house, and others may require some creativity (or a quick trip to the store). No matter what you and your kids choose, we know it will turn out great! Without further ado, here is a list of our favorite DIY projects to do with the kids.
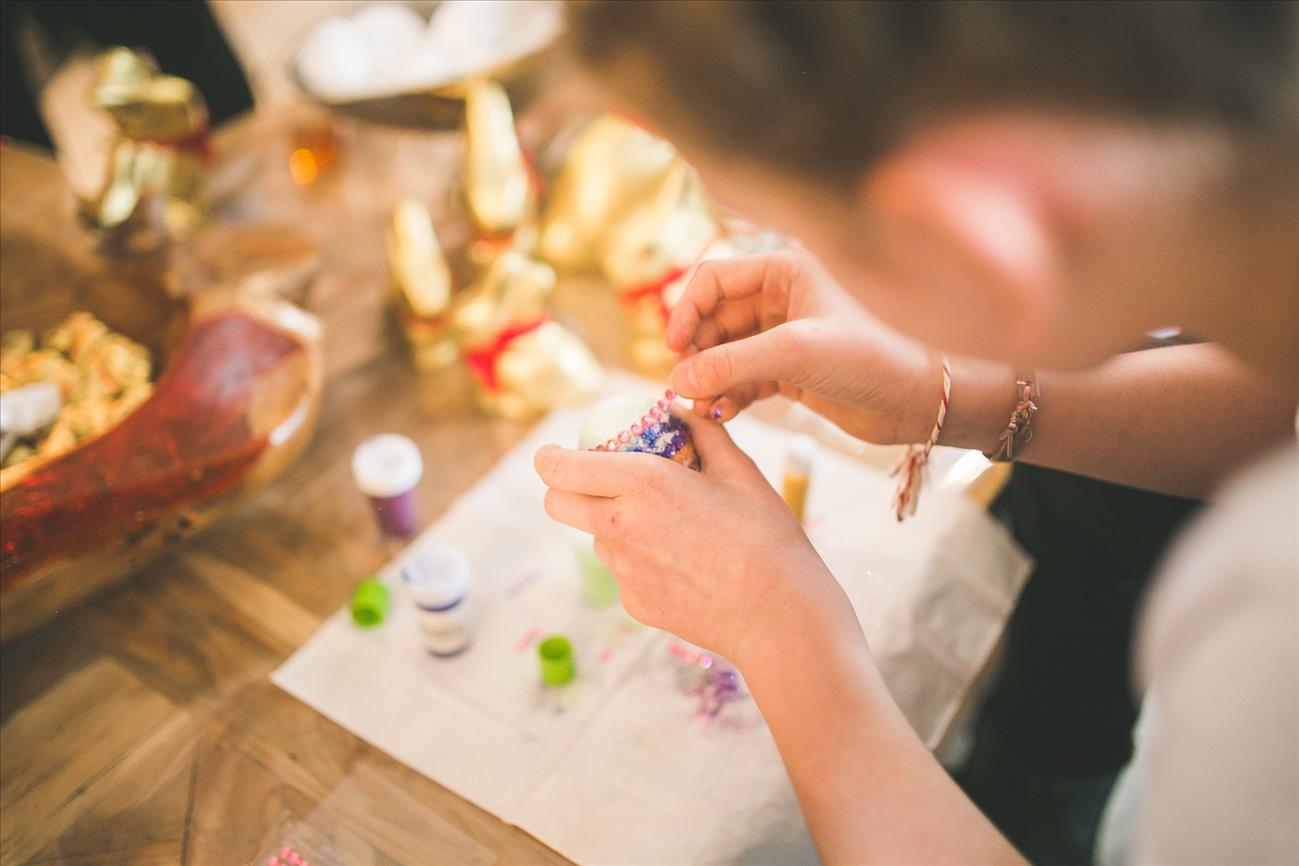
DIY Art – Salt Dough Ornaments and Molds
Kids are constantly growing, so why not take this moment in time to capture their handprint or footprint? Using items you probably have in your pantry, this project is both easy and fun for kids of all ages. Discover how salt dough ornaments can be a keepsake that you treasure now and in years to come.
Ingredients
- 4 cups of all-purpose flour
- 1 cup of salt
- 1 ½ cups of warm water
- Clear glaze finish or mod podge
- Paint for decorating (optional)
Steps for Success
- Combine all ingredients in a bowl and mix until it forms a sturdy dough.
- Remove dough from bowl and knead for 10 minutes. If your dough seems a little dry, add in a little more water and continue to knead. The ideal consistency is smooth with minimal bumps.
- Roll out the dough to a ½-inch thickness (not much thicker, as it will take too long to dry otherwise).
- Have your child press their hand into the dough to form a handprint. Then, cut around the handprint in the shape you desire. You can also feel free to just cut out a bunch of shapes that can be decorated later.
- Allow the dough to dry. The best method for this is air drying, but if you are in a rush, you can bake it in the oven for 1-2 hours at 250 degrees Fahrenheit. Following this, you will need to gauge when the ornament appears to be hardened.
- Once the dough is dry, be sure to grab your favorite non-toxic acrylic paint for decorating. This step really allows creativity to shine.
- After the paint dries thoroughly, be sure to seal in the creation with a glaze or mod podge.
Once this is complete, you are all set! You’ll have a fun item that can be turned into an ornament (poke a hole in the dough while it is still wet), a coaster, or just a fun keepsake! Feel free to keep it for yourself, or gift it to a loved one, such as a grandparent.
DIY Sensory Project – Slime
Slime can be bought at the store, but it can also be made at home! If you need a fun rainy-day activity, slime is almost guaranteed to entertain your kids for hours. In addition, it can be made into cheery colors, which can brighten up any day.
This project can be a little messy, by the way, so we suggest lining your workspace with a tablecloth or a garbage bag for easy cleanup. Now let’s take a look at what we need to do!
Ingredients
- 8-oz bottle of white glue
- 1 ½ to 2 tablespoons of contact saline solution (more as needed)
- 1 tablespoon of baking soda
- Food coloring (optional)
Start Your Slime Creation
- Add the glue and food coloring (if you want it to have color) to a bowl. Stir until combined, then add in baking soda. Mix again.
- Now, add the saline solution. If the texture is too sticky, be sure to add in another ½ tablespoon of the saline solution. Continue doing this until you have your ideal texture. One aspect to note is that the more saline solution you add, the thicker the end result will be. The less you add, the slimier it will be.
- Next, you are going to knead the slime using your hands until it comes together. At first, it will have a gooey texture, but be sure to keep kneading until you have slime so your kids can have fun.
At the conclusion of this project, you will want to store your slime in a container with a lid or in a bag with a zip seal. When you want to reopen it in the future, be sure to use a placemat or tablecloth to avoid extensive cleanup. This recipe yields about a cup of slime. Be sure to double or triple your batch based on the number of children involved. Enjoy!
Additional Tips
- Use disposable bowls and spoons for easy cleanup.
- Get the color you want before adding in the saline. The saline acts as an activator and evenly distributing the color will become more challenging after adding the activator in.
- Add in extras like glitter or scented oils for a unique slime experience.
- Slime can stick to hair. If this occurs, be sure to rub coconut oil or olive oil over the slime and gently brush it out.
DIY Science – Balloon Inflation
Warmer weather presents a great opportunity to try outdoor projects. This balloon inflation allows you to build a science lab in your home by using the scientific reaction between baking soda and vinegar. Additionally, exploring the reaction between these items can lead to a discussion about carbon dioxide and science as a whole, making it ideal for education as well.
Materials Needed
- 1 large balloon
- 2-3 teaspoons of vinegar
- 2-3 teaspoons of baking soda
- Funnel
- Dry, empty bottle without a lid (a water bottle is typical)
Project Details
- Add baking soda to a balloon that has no air.
- Grab your funnel.
- Pour your vinegar into the water bottle using a funnel.
- Attach the balloon to the top of the water bottle by stretching the opening around the mouth of the bottle, being careful not to let any of the baking soda slip in until you are ready for the reaction. The best way to do this is by leaving the balloon on the side of the bottle.
- Once you are ready to see the reaction, lift up the balloon and allow the baking soda to flow into the bottle and react with the vinegar.
There you have it! The gas from the baking soda and vinegar reaction will cause the balloon to inflate. This project is so cool that your kids might ask you to recreate the experiment. In this scenario, it is important to use fresh vinegar. We hope you enjoy experimenting!
How It Works
Since your kids might wonder why baking soda and vinegar react, we are here to clarify the details. In this experiment, baking soda is a base that reacts with vinegar, which is an acid. The reaction between the acid and the base forms a gas called carbon dioxide, which causes the mixture to bubble and foam. This gas tries to escape but has nowhere else to go, so it ends up expanding the balloon and causing self-inflation.
Start Your DIY Project Today
Spending time with kids is an opportunity to do something that they will enjoy, and infusing these activities with creativity will lead to unforgettable projects. In this post, we covered sensory, artistic, and scientific projects, so that you can pick one that excites your child the most.
Whether you are a nanny, teacher, or parent, you understand the importance of engaging your children in fun activities at home or in school. Be sure to try out one of our favorite DIY projects to do with the kids or check out some of the other blogs featured on Billy.com for other helpful life tips.
* * *
Julia Grosel works with UNIQUE Paving Materials, a leading asphalt repair company that supplies high-performance and cost-effective products for asphalt, blacktop preservation, concrete, and more.
Are You a Professional?
Requests for your services are coming in left and right. Let’s connect and grow your business, together.

