9 Steps to Roof Your Home Safely

The roof of your home isn’t just an aesthetic asset. It’s an essential safety feature, provides insulation for the inside of your home and protects your home’s structure, your belongings and your family from the elements. When it’s time for an upgrade, it’s important to approach the process with meticulous detail and effort.
Though there are several ways to roof a house, a few proper steps will help to ensure maximum safety, curb appeal and longevity. Read on to discover tips to help you get the job done carefully and correctly.
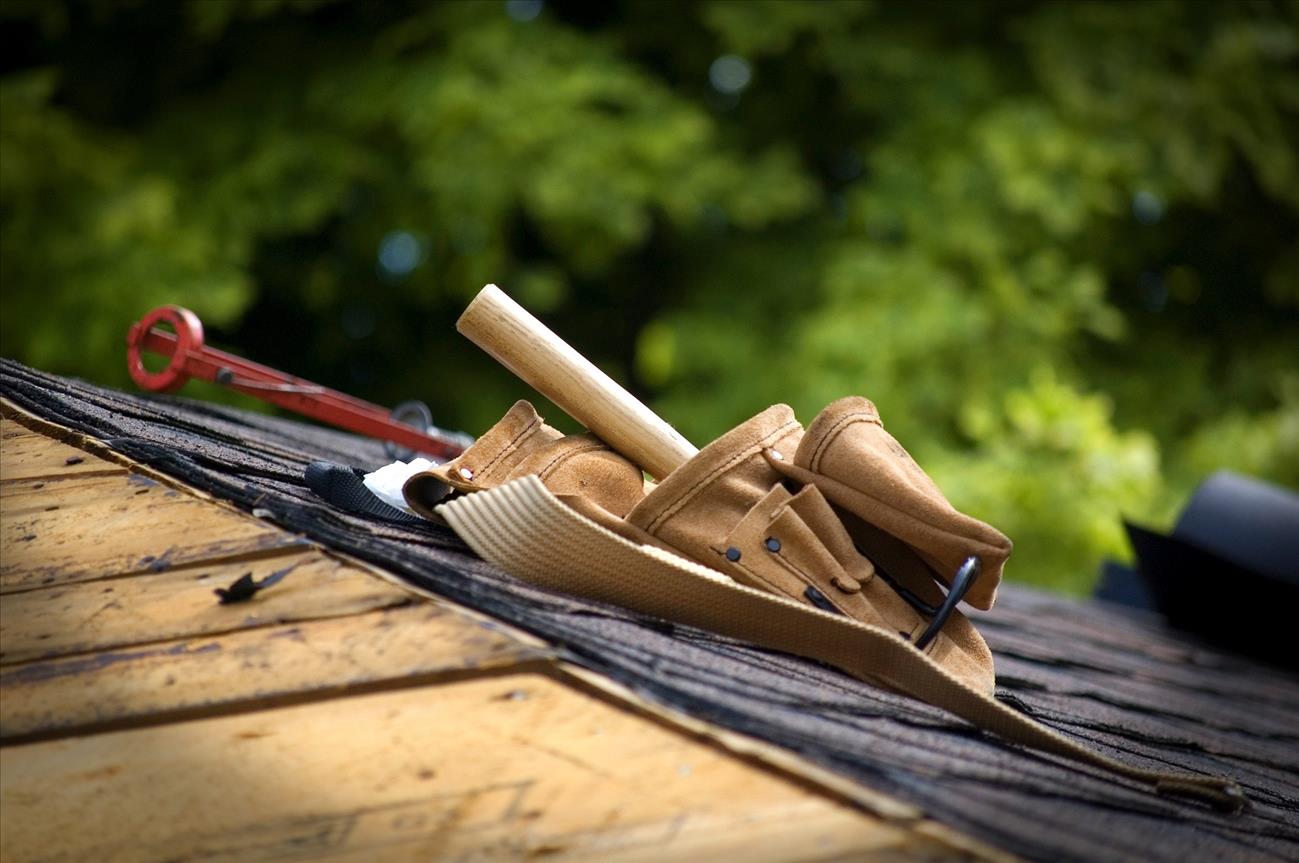
Get the Right Tools
Before you begin to re-roof your home, you need to make sure you are equipped with the right tools and supplies ahead of time. This will not only save you multiple trips to the hardware store, but it will also provide you with the peace of mind that you have what you need to safely and thoroughly get the job done.
Make a checklist of necessary tools and materials, including the following:
- Gloves
- Safety harness
- Helmet
- Hook blades
- Shingles
- Caulk and caulk gun
- Underlayment
- Sturdy step ladder
- Sealant
- Scaffolding
- Waterproof underlayment
- Flashing
You will also need various basic tools to complete the process, such as a saw, utility knife, air compressor, a staple gun, a nail gun and a straightedge.
Assemble a Team
Roofing a home should never be done alone. In fact, the more people involved in the job, the safer each individual is likely to be. Gather experienced friends and family to help get the job done faster, spot one another on the ladder, hand tools and supplies back and forth, provide moral support and provide extra sets of hands and eyes to ensure safety every step of the way.
Wear Safe Attire
Accidents and hiccups can happen when you least expect them. Outfit yourself and every person involved in the process with reinforced clothing, durable gloves, helmets and safety harnesses. Proper safety attire can prevent injuries from falls, faulty equipment, sharp or abrasive debris and simple slips or mistakes with tools and materials.
Check the Conditions
When you’re on a deadline to complete a re-roofing job, it can be tempting to want to push through unstable weather conditions and keep working. However, rainy and windy conditions can make the job much harder, and even endanger you and your team. Wait for clear, calm weather conditions to complete roofing tasks, even if that means holding out through several stormy days.
Ensure You’re Qualified
If you’ve never used a nail gun before, or you haven’t operated an air compressor, it’s a good idea to obtain proper training and practice before undertaking a large task such as re-roofing your home. If you’re unqualified to operate certain tools, put them in the hands of people who have experience and expertise with them in order to avoid injuries or mistakes.
Outsource Labor
Even if you’ve committed to a largely DIY roofing project, there may be some tasks best left to the professionals. You can still save money on the job by outsourcing some smaller projects to hired contractors, and this may be best if you are short on time, equipment, team labor or are unskilled with certain tools or processes.
Obtain Permits
Because your roof must be up to code, it’s necessary to obtain proper permits before you begin working. Research what is required in your state in order to get a permit and follow the steps carefully. This will help you to maintain a safe structure before, during and after the roof is complete, and can also help you to avoid costly fines and revisions in the event of mistakes or missteps.
Follow Proper Steps
Re-roofing a home is certainly a challenge, but following these steps will guarantee the task is done reliably and up to code.
Removal
Whether you’re tearing off the whole roof or making localized repairs to smaller sections, a shovel or crowbar can be used to rip off the existing shingles, which should be disposed of in a large dumpster. Make sure the area is completely clear of debris before moving on to the next step.
Repairs
Observe the roof deck beneath and make repairs to any areas that show cracking, water damage, stains or other structural issues.
Underlayment
Apply the underlayment barrier to the exposed roof deck with nails, making sure all sides of the paper are secured to your home for maximum protection from the elements.
Drip Edge
While the drip edge can be installed at several points in the process after the underlayment is applied, it can be helpful to nail it down before the shingles for an overhand. Check your local building requirements to see if a particular shingle overhang measurement is necessary.
Flashing
Valley flashing helps to protect the more vulnerable parts of your roof from water damage, as it directs water straight into the gutters below. Watertight flashing should be installed before shingles for maximum protection.
Starter Shingles
Before the visible shingles can be installed, the starter strip is a crucial step to secure the roof’s edge and further shield your roof, and your home, from the elements. Install starter shingles near edges, eaves and rakes.
Row Placement
Lay your shingles of choice according to the instructions, but be certain to overlap shingles properly and nail each row down from left to right before moving to the next one.
Vents and Flashing
If you have vents, dormers or roof-to-wall intersections, acquire and install step flashing, boots and replacement vents as needed.
Ridge Caps
When you finally make your way up to the peak of your roof on either side, it’s time to lay a ridge cap. A ridge cap seals the peak so water can flow properly down the sides of your roof and into your gutters.
Gutters
Inspect and reinstall any gutters removed in the process, and make sure they’re clean and in good repair before they’re reattached.
Perform a Final Inspection
After you’ve completed all the necessary steps to re-roof your home, set some time aside to inspect your work closely. Look for any crooked shingles, loose nails, unsealed seams or other areas that need to be touched up. The more thoroughly you inspect for potential mistakes, the easier it will be to correct issues that could lead to costly damage down the line.
Are You a Professional?
Requests for your services are coming in left and right. Let’s connect and grow your business, together.

