
What To Do When Insects Enter Your Private Well | Billy.com
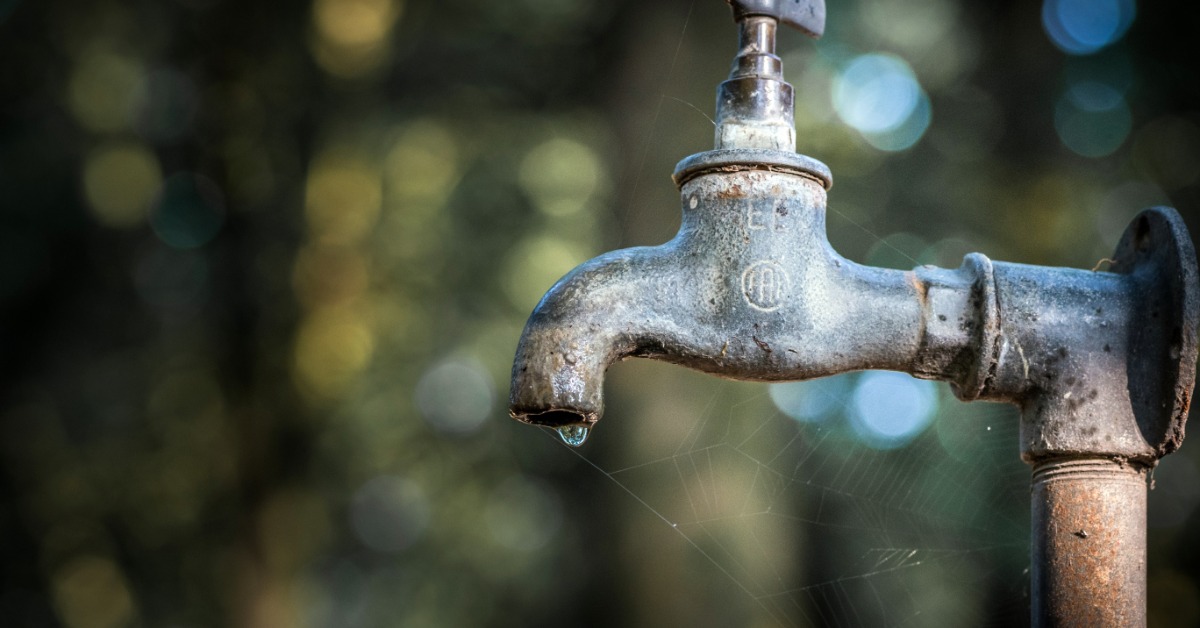

Finding a beetle in the basement is annoying. Finding one floating inside a private well is a very different element of surprise. The insect itself may seem harmless, but its unfavorable presence raises a big question: How did something from the surface reach the protected water supply?
An insect inside a private well doesn’t automatically mean the water contains harmful microorganisms, but it does indicate an opening, damaged component, or maintenance problem worth investigating. Well owners are responsible for monitoring their own water quality. Treating the presence of an unexpected pest promptly ensures that the water is safe to consume.
Stop Using Well Water Until You Know More
Set aside the “it was only one bug” argument, at least until a professional has evaluated the water. Insects travel across soil, vegetation, animal waste, and more unspeakable surfaces before finding their way into your well. Their arrival could signal a route used by surface water, dirt, or microorganisms as well.
Until treatment is possible, use bottled water for drinking, cooking, and brushing teeth. Boiling water before consumption addresses many germs, though it does nothing to remove chemical contaminants. The safest bet is to use bottled water when the contamination source and threat level remain unclear.
Treat Insects as a Contamination Warning
The bug is evidence, not necessarily the entire problem. Think of it as a tiny, six-legged maintenance alert.
A protected well system should limit direct entry from the surface. When private well contamination becomes possible, the first task is figuring out whether the insect slipped through a damaged cap, an unscreened vent, or a gap near wiring. An unsecured component could admit more than insects, especially after heavy rain, yard work, or disturbance around the casing.
Visible insects, wings, and other debris also deserve your attention. The last thing you want is organic material inside a well breaking down and introducing another contamination source.
Find the Opening at the Wellhead
Before taking anything apart, start with an exterior inspection before taking anything apart. Examine the cap or sanitary seal, casing, electrical connections, and vent openings. Check whether the cap and screens are secure. Everything from cracks to corrosion deserve a thorough investigation.
The soil surrounding the casing provides clues as well. Erosion, standing water, or a depression sloping toward the wellhead creates conditions where surface material reaches areas intended to remain protected. It’s important that the grading allows runoff to move away from the well.
Avoid opening the casing simply to satisfy curiosity. If inspection requires disturbing well components, it helps to have basic knowledge of the DIY well installation process, like how to assemble and seal a wellhead. This will decrease the chance of debris entering with exposed components.
Remove Visible Insects and Debris Carefully
A dead insect near the cap is one thing; a cluster of insects, nesting material or debris deep inside the casing points toward a serious maintenance issue. Don’t knock debris farther down while trying to fish it out with improvised tools.
If material sits where it’s impossible to remove without reaching into the well, contact a qualified well professional. The same applies when a nest appears inside a vent, seal or casing opening.
Skip insecticide sprays around an open wellhead. Pesticides used near a drinking-water source create an entirely separate contamination concern. Pest treatment should focus on entry routes and surrounding habitat without introducing chemicals into the well.
Test the Water Before Normal Use Resumes
Clear water is not proof of safe water. Many contaminants leave no obvious change in taste, smell or appearance, so testing provides information an eyeball inspection never will.
Use a state-certified drinking-water laboratory and explain what happened. Total coliform testing is a common starting point because these bacteria serve as indicators of sanitary conditions in a well. A positive result could signal surface contamination and trigger additional testing or treatment recommendations. To ensure the water is safe, you should test it once a year and after conducting any repairs.
Disinfect the Well After Fixing the Entry Point
Disinfection makes more sense after addressing the physical threat. Otherwise, a damaged cap or open vent remains available to the next rainstorm, ant colony, or curious beetle.
Shock chlorination is one method used after bacterial contamination, though chlorine amounts and procedures depend on well dimensions, system components, and local requirements. A health department or qualified well contractor should guide the process. Instead of following a one-size-fits-all chemical recipe, be sure to treat bacteria in drinking water according to the test results.
Repair the Wellhead Before Pests Return
Repeated insect entry deserve more attention than repeated insect removal. Swatting the evidence without closing the opening turns maintenance into a recurring chore.
Therefore, the next step is to make a lasting fix. Replacing a damaged cap, repairing a seal, screening a vent, or addressing casing damage closes access to insects and other surface contaminants.
This is where a well professional and pest-control professional serve different purposes. A well contractor handles structural or mechanical defects affecting the water system. A pest-control professional is necessary for tracing insect activity around nearby structures, vegetation, and nesting areas. They’ll determine why pests keep gathering near the well.
Keep the Area Around the Well Less Inviting
Insects love clutter, moisture, and hiding spots, so a tidy space works in your favor. Making the area around the wellhead uninviting for pests is exactly what your property needs.
Clear away leaf piles, rotting wood, and thick weeds. These materials trap moisture and create perfect little shelters where pests settle in and linger. Move mulch beds and stored items farther away from the well, so nothing crowds the area or blocks airflow around the cap.
Pay attention to drainage as well. Water that pools near the casing invites trouble, so adjust the slope or soil so runoff moves away instead of collecting at the base.
After storms, yard work, or any sign of pest activity, take a quick walk around the wellhead. A shifted cap, exposed soil, or fresh erosion often signals a developing issue. Catching those changes early keeps small problems from turning into bigger water concerns later on.
Restore Your Home’s Water Quality
With professional assistance, you’ll know exactly what to do next when insects enter your private well. The goal for this issue is simple: find how insects wandered in, cut off access, and ensure the water is safe. Soon enough, you won’t have to use bottled water to brush your teeth or cook a meal.
Are You a Professional?
Requests for your services are coming in left and right. Let’s connect and grow your business, together.

