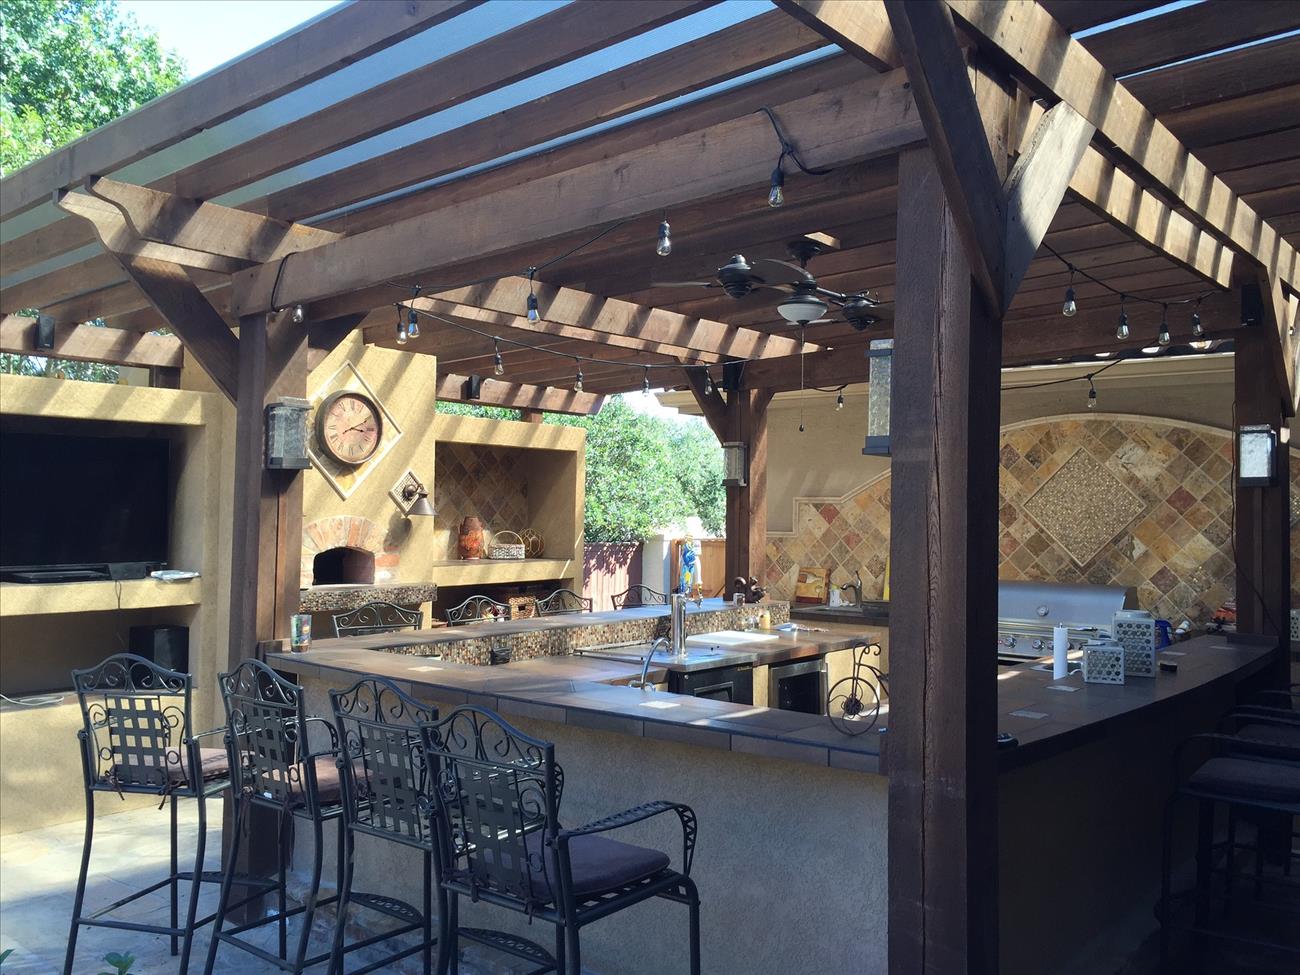
Installing an outdoor kitchen on a deck is one of the best ways to make a home's backyard feel more comfortable and inviting. It doesn't have to be hard to do, either. There are plenty of tools available to homeowners who want to create bespoke deck kitchens but don't know how to take all of their ideas and make them into realities. Read on to find a step-by-step guide on how to get started using a free outdoor kitchen 3D modeling program to create the perfect design.
Step One: Take Some Measurements
Unless they plan to build decks specifically to accommodate their outdoor kitchens, homeowners will have to work within the confines of the dimensions they already have. It's a good idea to start by taking basic measurements with a measuring tape and, ideally, a friend who can help. Knowing how much space there is to work with makes it easier to choose the right layout and features.
Step Two: Pick a Layout
The next step is to pick the right kitchen layout. These days, most homeowners choose an L shaped outdoor kitchen layout to maximize space and create a focal point for guests to gather. L-shaped kitchens can fit in almost any space and they look fantastic on decks, but homeowners can also choose from other layouts like straight kitchens, U-shaped counters, or gallery designs. As long as everything fits on the deck and the design meets the family's needs, it's fine to experiment.
Step Three: Design an Island
No outdoor kitchen is complete without an island. Kitchen islands can be L-shaped or straight, and homeowners with large decks can even incorporate multiple islands that serve different purposes. Again, just make sure there's still enough space in the design to accommodate foot traffic, outdoor chefs, and guests.
Step Four: Fit in the Appliances
Once homeowners have an idea of their kitchens' basic layouts and where the islands will go, they can start sorting out how to fit in all the most advanced appliances and fixtures. It's best to start by figuring out how the appliances will fit into the overall layout before investigating specific models. The great thing about using a free 3D modeling tool is that homeowners can try many different appliance layouts to determine not just what kind of grills they can accommodate but also whether they'll have space for add-on items, seating, and other essentials.
Step Five: Choose the Appliances
Homeowners should use the measurements they took in step one and the layout determined in step four as starting points for choosing appliances and fixtures. Start with the basics like a high-quality grill, storage space, and sinks before moving on to accessory items like power burners, pizza ovens, refrigerators, and other unique features.
Step Six: Let the Contractors Handle the Rest
Once homeowners have a detailed 3D model, all that's left is to send it off to a contractor. Working with a vendor that offers design services and maintains a network of affiliated contractors will make it incredibly easy to bring an outdoor kitchen to life. Of course, homeowners with all the right tools and experience, plus a few friends who are willing to help, can also install kitchen islands, appliances, and other features at home by following the vendor's assembly instructions.
Get Started Today
Ready to create the perfect outdoor kitchen on a new or existing deck? The first step is always the same. Find a high-quality 3D modeling program and start brainstorming.
Are You a Professional?
Requests for your services are coming in left and right. Let’s connect and grow your business, together.


