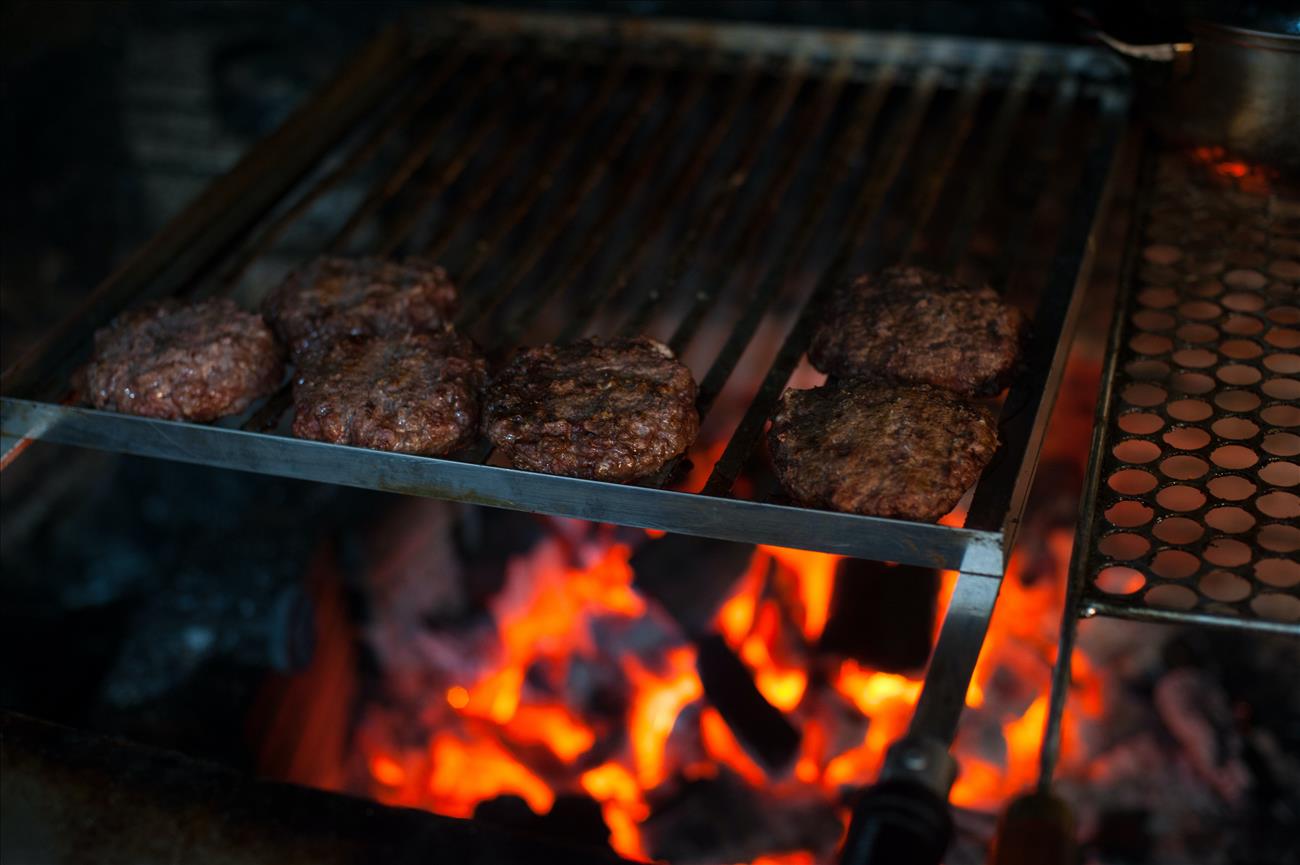
Year round grilling is ever-popular, with 75% of grill owners firing up their equipment in the winter as well as during the warmer months. One of the ways to continue grilling throughout the seasons is to build a permanent grill shelter. While you can also do by moving your portable grill closer to the house when temperatures dip, a viable option is a multi-purpose refuge where you will be protected from the elements while cooking. It is also a practical solution to store equipment and supplies during the cold season.
Picking The Best Spot And Materials For Your Shelter
Your grill should be at least 10 feet away from your home or garage in order to minimize the chances of spreading the flames if there is a fire. There should be enough space, too, to move around when long-handled tools are used. Food safety basics are essential to prevent illnesses due to the consumption of badly-prepared fare, but practical safety is essential too. Avoid accidents with your griddle by following the advised precautions such as using the right tools, apparel and foot gear. A spot in your backyard which is not close to trees and plants is also ideal. Don’t forget building permits that may be required by your local councils to avoid paying hefty fines or, at worst, tearing down what you have built due to non-compliance with ordinances.
Consider staining wood materials before building your pavilion. Staining protects the surface of the wood and brings out its rich colors and textures. When it comes to materials, redwood and cedar are great materials for your shelter. They are resistant against cracking and chipping, decay, and insect infestations. Plus, they are stable woods that resist warping and deformation. In addition, they are widely available and are priced-reasonably.
Creating And Customizing Your Shelter
To start building your grill cover, pour a concrete slab that will serve as your flooring. Another idea is to use paver pads as a base, and then set 4x4 posts at each corner of the shelter and place the posts in holes filled with concrete. The poles should be at least 2 feet deep in the hole for stability, and roughly 8 feet above the ground for good clearance. Fit the angle braces, install the metal roof purlins, and mount the roof.
Once the gazebo is completed, you can also add lights to make it easy to grill when natural light is not adequate. For a neat appearance, consider installing shelves and cabinets where you can store accessories and supplies such as barbecue equipment, glasses, cutlery and dishware. You can also put coolers in the cabinets, making it a breeze to serve guests with cold drinks.
If there is adequate space, you can even transform your barbecue cover into an outdoor entertainment area. Put up a mini bar with high chairs where you can socialize while waiting for your meat be cooked. You can also use the bar as tables where you can eat and relax when you have guests over at your home.
Grilling is a favorite pastime that can be done throughout the year if you have a barbecue shelter. It is not only easy to build, but more importantly, offers protection from the elements and safeguards your equipment and tools.
Are You a Professional?
Requests for your services are coming in left and right. Let’s connect and grow your business, together.


